

Shortbread Wedges
Gluten free dough’s and batters usually require a 30 minute resting period before baking to allow the flours to absorb as much moisture as they can. This prevents the gritty texture that gluten free baked goods can sometimes have. But because there is so little moisture in this shortbread recipe, a resting period won’t affect the flour. Instead a cooling down peroid in the oven after baking will achieve the same result.
Using a spring form pan allows the shape of the shortbread to be maintained while baking – otherwise with so much butter (and no gluten) the dough would spread out too much in the oven. Use the back of a measuring cup to press the top into an even layer.


Pressing out the center of the dough enables more heat to reach the center of the shortbread while baking, allowing the center to be cooked exactly the same time as the edges. Keeping the cutter in the dough while baking ensures the shortbread doesn’t spread out and maintains the wedge shape.


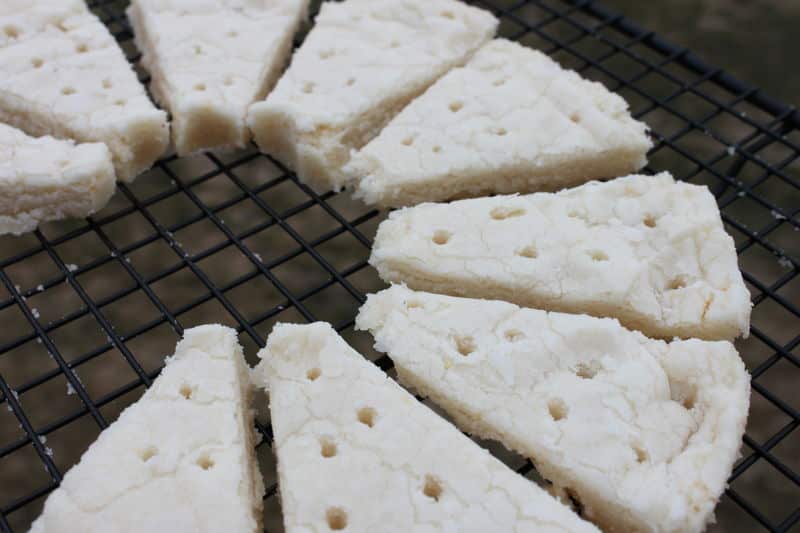
After baking, unhinge the spring form pan and remove. Lightly score 16 wedges using a sharp knife and poke all over with a skewer. Turn oven off and place the shortbread back in the oven with the oven door slightly ajar (use a wooden spoon to prevent the door from closing all the way). Let sit for an hour in the cooling oven, then remove to counter top and allow to completely cool at room temperature for another hour before cutting.


Shortbread Wedges
Ingredients
- 2 cups GFC Baking Flour Blend II
- 2/3 cup icing sugar
- 1 tsp xanthan gum
- 1/2 tsp salt
- 7/8 cup* butter cold & cubed
Instructions
- Combine dry ingredients in a mixer and blend well. Beat in butter until dough forms and pulls away from sides of bowl (beat on high for at least 3 minutes).
- Place a 9-9 1/2" spring form pan (without its bottom) onto a parchment or silcon lined baking pan. Press dough into pan, spreading out into an even flat layer. Take a 2" cookie cutter and stamp out center. This will allow the center to bake at the same rate as the outsides. Place cutter back into center to keep the cookies shape while baking.
- Place on center rack in a 450°F preheated oven. Immediately decrease to 300°F and bake for 20 minutes, just until edges begin to brown. Turn oven off.
- Remove spring form collar and lightly score the shortbread into 16 wedges. Using a skewer, poke about 8 holes in each wedge and return shortbread pan to oven. Keep oven door slightly ajar by propping it open with a wooden spoon (so there is about 1" opening). Allow to sit in cooling oven for an hour.
- Remove from oven and allow to cool completely at room temperature before cutting into wedges.
Notes


My husband no longer needs to avoid gluten. For this recipe, to get the same results how would you change it for regular flour? It sounds delicious.
Yes (and for most other recipes) you can switch out the flours/starches 1:1 for regular flour, omit any xanthan gum called for, and disregard the 30 minute resting period.
Thank you, Marla. I’ll try it.
What is icing sugar? Is it the same as powdered sugar?
Yes. Icing sugar, powdered sugar, and confectioner’s sugar are all the same thing.
Can you use non dairy butter?
Yes (I’m guessing you’re referring to non-dairy margarine). The only differences will be: cookies made with butter will be richer in flavor, will not flatten as much when baked and will be crispier in texture. Those made with margarine also tend to stick to the pan more so than butter, so be sure to use a parchment lined baking sheet. Also cubed up the margarine and freeze it for at least 30 minutes before adding to the mixture. This will help it hold its shape while you work with it. If you make them, please let us know how they turn out!