

Candy Corn Crispies
Real candy corn may contain gluten, so make your own rice crispy version!
Unless you have help, and can work really quickly, I would divide the ingredients into 3 batches and prepare each ‘layer’ separately. For the bottom layer, melt a third of the marshmallows, butter and rice crisps until smooth. Divide and press into 2 greased loaf pans.

Prepare middle layer the same way, but add orange food coloring to the melted butter before you add the rice cereal. This way the color will be better distributed when you mix it all together. Press into loaf pans.

Make final layer using yellow food coloring, then press into loaf pans (using a greased spoon or hands will help it spread easier).

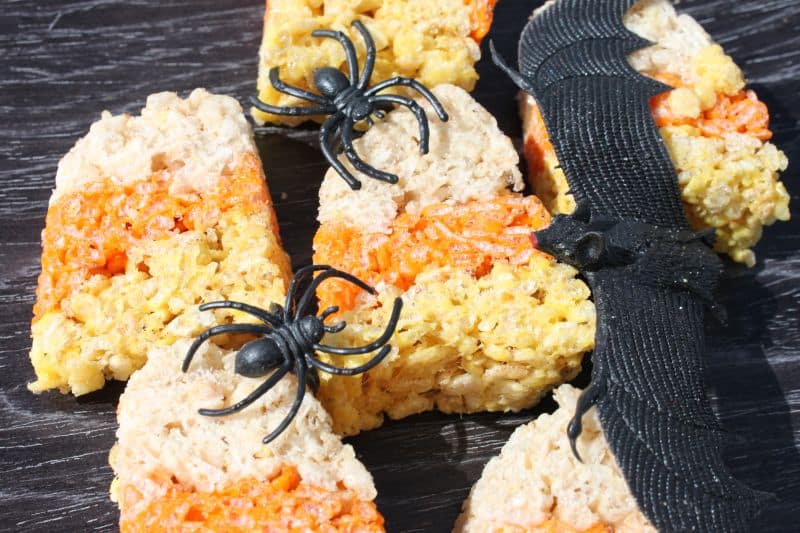
Allow to set for 2 hours. Remove from loaf pans and cut into slices. Cut each slice again in half, then use your fingers to shape the top into a cone shape.


Candy Corn Crispies
Ingredients
- 40 regular or 5 cups mini GF marshmallows
- ¼ cup butter or margarine
- 6 cups GF rice crisp cereal
- Orange & yellow food coloring
Instructions
- Unless you have help, and can work really quickly, I would divide the ingredients into 3 batches and prepare each ‘layer’ separately.
- Melt a third of the marshmallows, butter and rice crisps until smooth. Then press into 2 greased or lined loaf pans.
- Prepare the middle layer the same, but add some orange food coloring to the melted butter first, then add remaining ingredients. Press over bottom layer.
- Prepare top layer, using the yellow food coloring, and press into pans.
- Let set for 2 hours, then remove from pan. Cut into 10 slices, then cut each in half vertically. Use your hands to gently shape the top into a cone shape.
- Wrap each tightly in plastic to prevent drying out.


